During the recent festive season, the Naval Historical Society of Australia lost three long term members whose service to the nation and community in peace and war is a fine ...
HMAS Arunta I
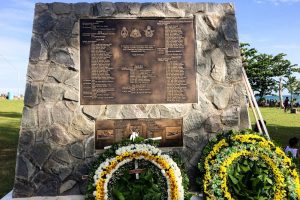
Australians in the Decisive Thrust KING II – The Leyte Landings
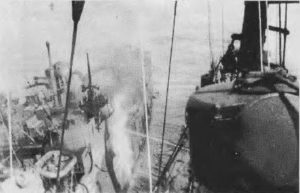
By Paul Baker Seventy-five years ago, on 18 October 1944, beaten only by the fast minesweepers and the attack forces securing the mouth of the Gulf, the crew of HMAS ...
Letter: HMAS Arunta and Operation Hamburger
Dear Editor The December 2017 edition of the NHR contains an article on the evacuation of Lancer Force from Timor by HMAS Arunta in January 1943. As my father was CO ...
HMAS Arunta and Operation Hamburger
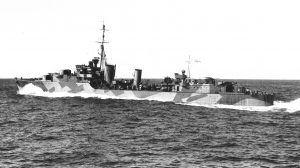
Whichever way you looked at a Tribal class destroyer, she was not just handsome, she was beautiful. The balance between hull and superstructure and the proportions of her two funnels ...
The Royal Australian Navy at Leyte Gulf October 1944
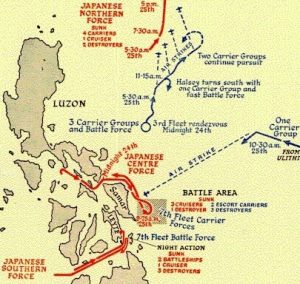
By Kingsley Perry The series of sea battles at and around Leyte Gulf in October 1944 marked a turning point in the Pacific war. Despite together representing the greatest sea ...
Kamikazes, Suicide Bombers and Us
HMAS Australia – Kamikaze Attack 1944
This year (2004) marks the 60th anniversary of the first kamikaze attack on HMAS Australia. As Roger de Lisle reports, Japanese suicide pilots hurled their aircraft onto Allied ships with ...
The Role of the RAN in the Liberation of the Philippines

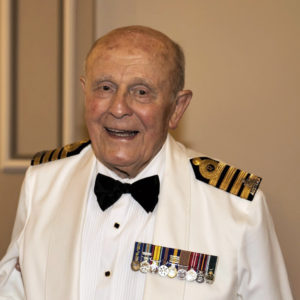
Obituary: Harry Train 1918-1999
Born: Millthorpe, October 26, 1918 Died: Balmain, May 23, 1999 Harry Train gave 30 years of his life to serving his country with the RAN. After enlisting in 1936 as ...