You must be a logged-in member to view this post. If you recently purchased a membership it can take up to 5 days to be activated, as our volunteers only work on Tuesdays and Thursdays. If you are not a member yet or your membership just expired you can Join Now by purchasing a new membership from the shop. ...
HMAS Yarra I
Book Review: The Scrap Iron Flotilla
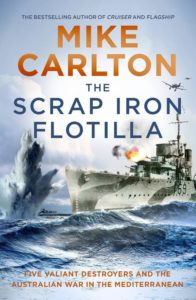
The Scrap Iron Flotilla by Mike Carlton. William Heinemann Australia. Paperback of 448 pages. rrp $34.99 On Sunday September 3rd 1939, history was tumbling over itself. In the mess decks ...
The River Clyde: The cradle of British shipbuilding and the birthplace of the Royal Australian Navy
By CMDR Tony Vine RAN Rtd The River Clyde in Scotland has long been described as the cradle of the British shipbuilding industry and in 1909 it became the foundation ...
HMAS Encounter (1905 – 1932)
HMS Encounter served on the Australia Station and was later commissioned into the RAN. She played a vital role in defence of the eastern coast of Australia, and the anti raider patrols in the South West Pacific. She was regarded as “more beloved than any other unit of our fleet”. ...
The RAN and the Capitulation of German New Guinea
In August 1914 the Australian government responded with caution to a British suggestion that it might undertake the destruction of the radio stations located in German colonial possessions in the ...
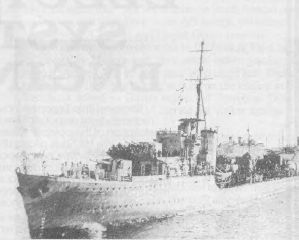
Was Parramatta a Defender and Yarra a Druid, and would Warrego have been at home in Rio?
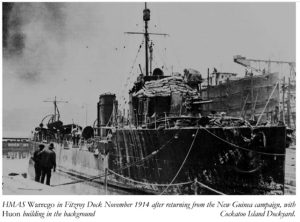
By Driftwood The massive shipbuilding programs leading up to WWI were dominated by the construction of capital ships. These unsustainable programs involved increases in the national debt of Britain and ...
90 Years on: Rabaul and Sydney/Emden 1914
This article was originally published in ‘Semaphore’, the newsletter of the Sea Power Centre – Australia. It is republished with the kind agreement of the Sea Power Centre. This year ...
Ping Wo’s Golden Secret
HMAS Ping Wo was not the most glamorous ship ever requisitioned by the Royal Australian Navy. Described by at least one of her crew as a ‘rust bucket’, the 3105grt ...
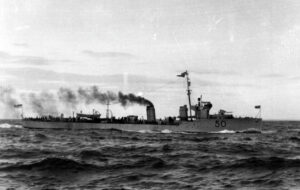
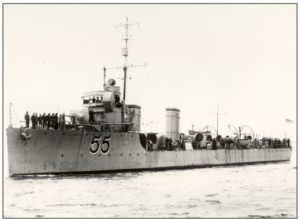
The RAN’s Destroyers
Royal Australian Naval Operations 1914
I FEEL THAT THE 75TH ANNIVERSARY of the Royal Australian Navy should not be allowed to slip away without brief mention of the operations carried out by the Navy in ...